This article contains affiliate links. As an Amazon Associate I earn from qualifying purchases.
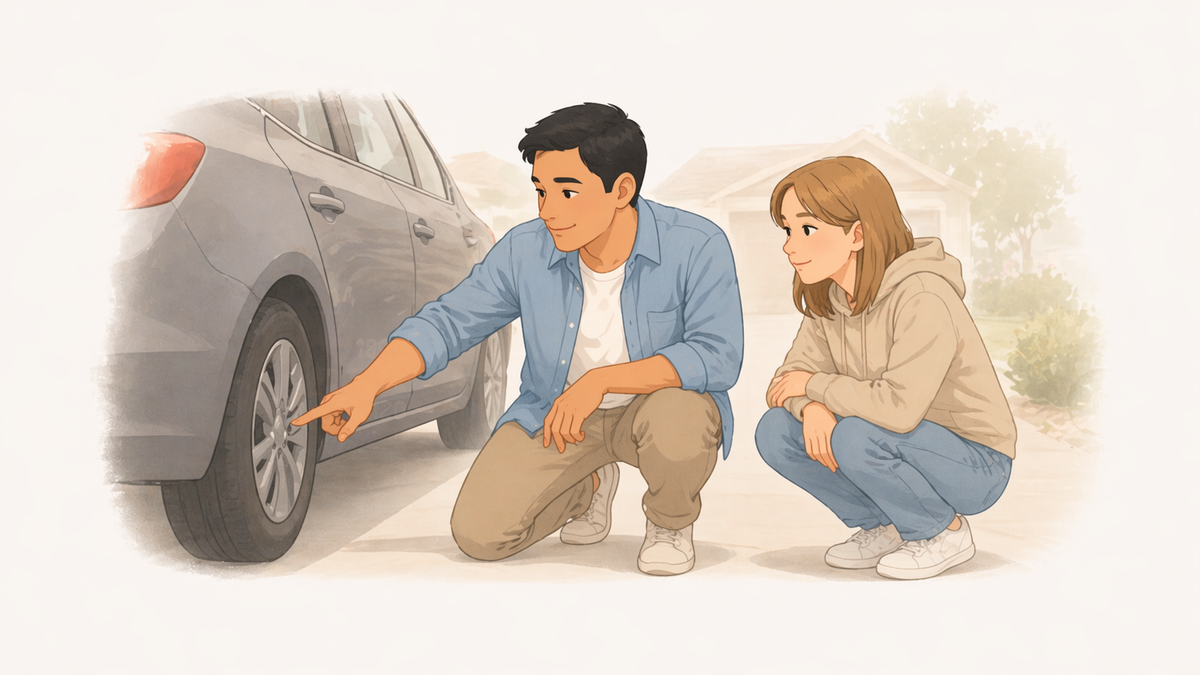
I grew up hearing about dads who wouldn't let their kids have a car until they could change a tire.
Mine wasn't around by then, so I didn't get that particular requirement. I got a 1995 Bonneville and figured it out.
The first tire I actually changed was on a friend's older Toyota Tacoma. He had done it before, barely, and was narrating what his dad had told him as we went. Where to put the jack (check the manual for that, different cars have different points). Loosen the lug nuts before you jack the car up, while the tire is still on the ground and can resist the torque. Tighten them back in a star pattern, not a circle.
His dad's knowledge. Through my friend. To me. That's how it got there.
It worked. I've changed the tire on every car I've owned at least twice since then. Different situations each time. The slow leak from a screw, in a placement that couldn't be patched. A slashed tire in a parking lot, which is a specific kind of annoyance. And one time, while selecting a new song on my iPod at a not-quite-stopped speed, I mounted a parking lot island at the wrong angle and watched the tire come clean off the wheel. That one was my fault. The tire didn't argue about it.
I've never had a blowout on the highway, which I consider something of an achievement and also luck.
The point is: I know how to do this because someone passed it down, even if not directly. The chain of knowledge is sometimes informal. The knowledge still works.
My daughter will get the direct version.
Why This Matters More Than It Used to
AAA is useful. Cell service is not always there.
If a teen gets a flat alone at night on an unfamiliar road, knowing how to handle it is the difference between a manageable inconvenience and a genuinely scary situation. Even if they decide not to change it themselves, because the conditions aren't safe or they're not confident yet, knowing the process means they know what questions to ask and what to tell the person who comes to help.
This is also one of the more satisfying skills to teach. It's physical. It has a clear outcome. Either the tire is on or it isn't.
Before You Start: Check What's in the Car
Before you teach the skill, make sure the car is actually equipped to use it.
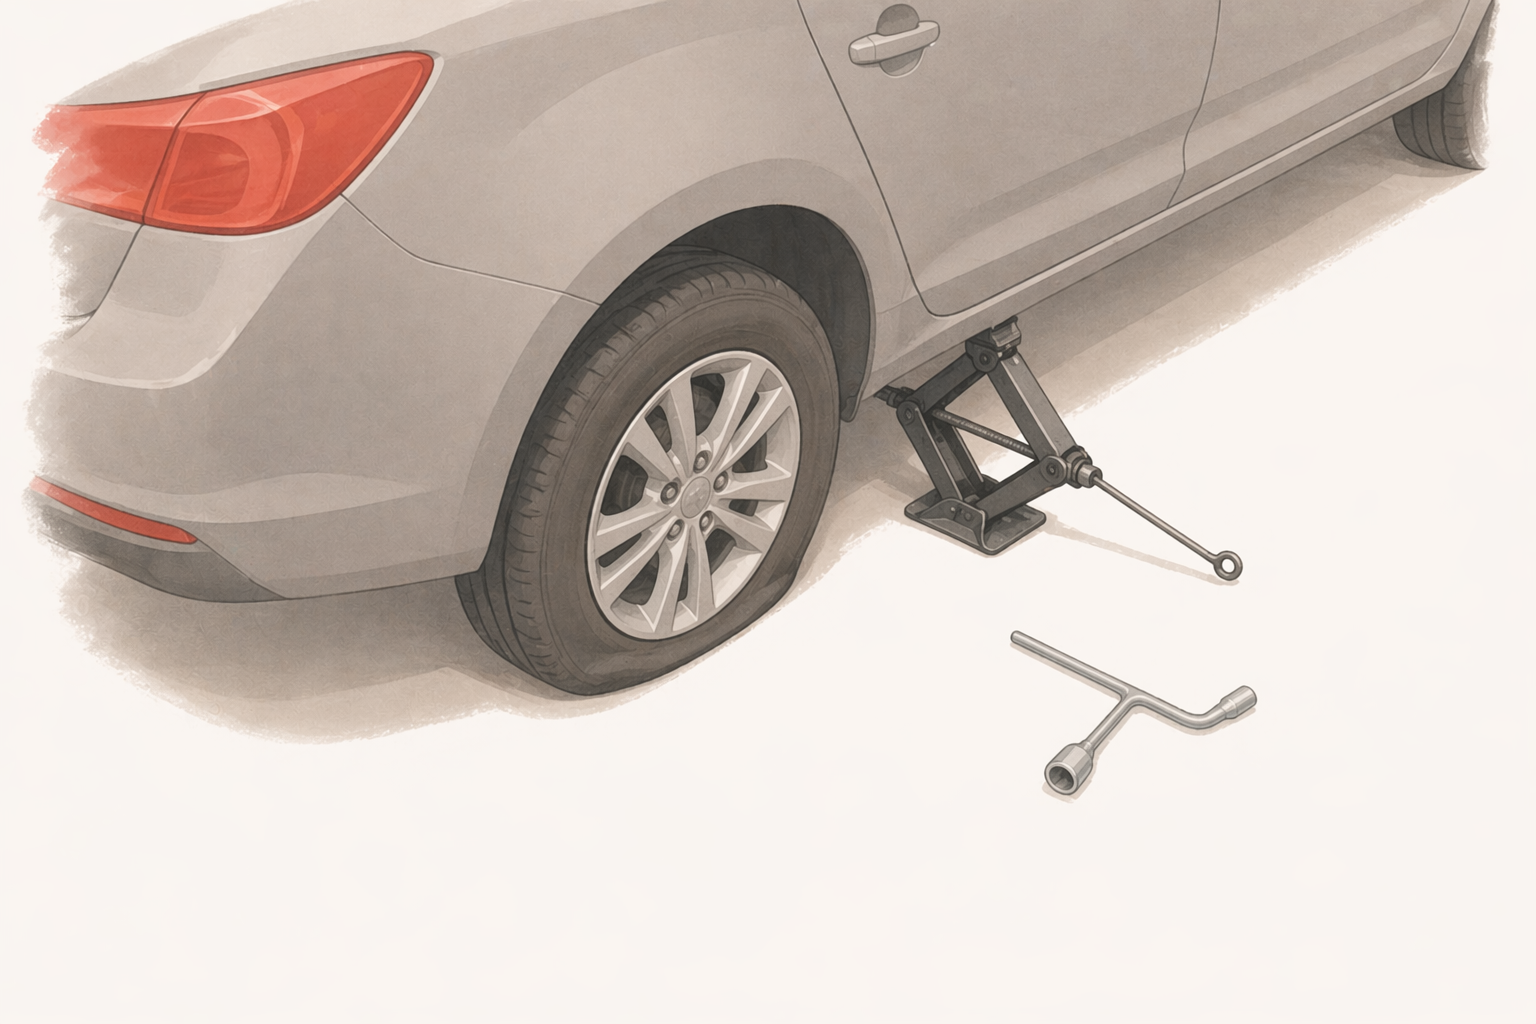
Open the trunk. Confirm there is a spare tire, a jack, and a lug wrench. Many newer cars come with a compact spare, sometimes called a donut. It's smaller than a regular tire and is rated for limited distance at limited speed. It gets you somewhere. It is not a permanent solution.
Also confirm the lug wrench fits the car's lug nuts. This sounds obvious. It has been an issue.
If the spare is low on air, get it inflated before the lesson. A flat spare is a bad surprise.
The Actual Process
Step 1: Loosen the lug nuts first. Before the car goes up, break the lug nuts loose. Put the wrench on each one and turn counterclockwise. Not to remove them, just to break the initial resistance. The tire needs to be on the ground for this. Once the car is jacked up, the wheel spins and you lose your leverage.
Step 2: Find the jack points. The owner's manual shows the correct spots. They're reinforced sections under the car, usually behind the front wheels and in front of the rear ones. Using the wrong spot can damage the frame. Thirty seconds with the manual is worth it.
Step 3: Jack the car up. Raise it until the flat tire is about six inches off the ground. No need to go higher.
Step 4: Remove the lug nuts and the flat. Finish taking off the lug nuts. Keep them somewhere they won't roll away. A pocket works fine. Pull the flat straight off and set it aside.
Step 5: Mount the spare. Line up the holes with the bolts and push the spare onto them. Hand-tighten the lug nuts in a star pattern. Not a circle. A star. Opposite corners, working your way around. This distributes the pressure evenly as the wheel seats against the hub.
Step 6: Lower the car, then fully tighten. Bring the car back down to the ground before fully tightening. Then go around the lug nuts again in the same star pattern, firm.
Step 7: Check the spare's pressure. Spare tires lose pressure sitting in the trunk for months or years. If it looks low, drive slowly to the nearest gas station and add air before going any further.
When Not to Try
There are situations where the right call is to call for help rather than change the tire yourself.
Traffic is moving too close. It's dark on a fast road and getting out of the car feels unsafe. The ground is uneven. You're not confident about where to put the jack. The spare is flat.
In those cases: hazard lights on, get as far off the road as possible, stay in the car, call for help. The skill includes knowing when the conditions aren't right for it.
Try This
1. Do it in the driveway first. No pressure, no traffic, no timeline. Walk through every step. Let them do the physical work while you narrate. Watching is not learning.
2. Have them do it again from the start. Right after the first time, let them repeat it without you guiding each step. They'll be faster and more confident. Repetition is the whole thing.
3. Photograph the jack point page in the manual. Or write it on a card and put it in the glove box. When they need to use this skill, they'll want to find that information quickly.
4. Check the spare's pressure twice a year. It slowly loses air just sitting there. A flat spare is worse than no spare. Keep an Accutire digital gauge in the glove box.
The New Driver's Parent Checklist is a 4-page printable for parents teaching a teen to drive. Pre-drive checks, the four skill stages, and word-for-word scripts for the hard moments. Download it free →
This is one of those skills that takes 20 minutes to teach and might matter exactly once over the next decade.
That one time is worth the 20 minutes.
When it happens, they'll either know what to do or they won't. One of those is a much better situation to be in.